Saw V 2008
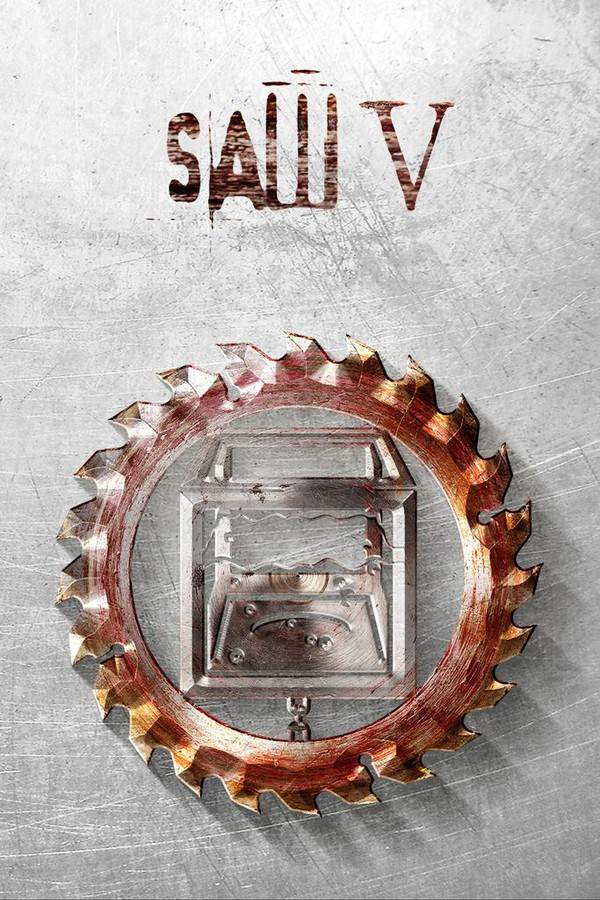
Detective Hoffman takes the reins in this chapter of the series, becoming a formidable hunter protecting his secrets. He relentlessly pursues those who jeopardize his dangerous legacy, orchestrating a series of elaborate and deadly traps. As Hoffman’s campaign of terror unfolds, he confronts new adversaries and reveals more about his own dark past, leaving a trail of victims in his wake.
Does Saw V have end credit scenes?
No!
Saw V does not have end credit scenes. You can leave when the credits roll.
Meet the Full Cast and Actors of Saw V
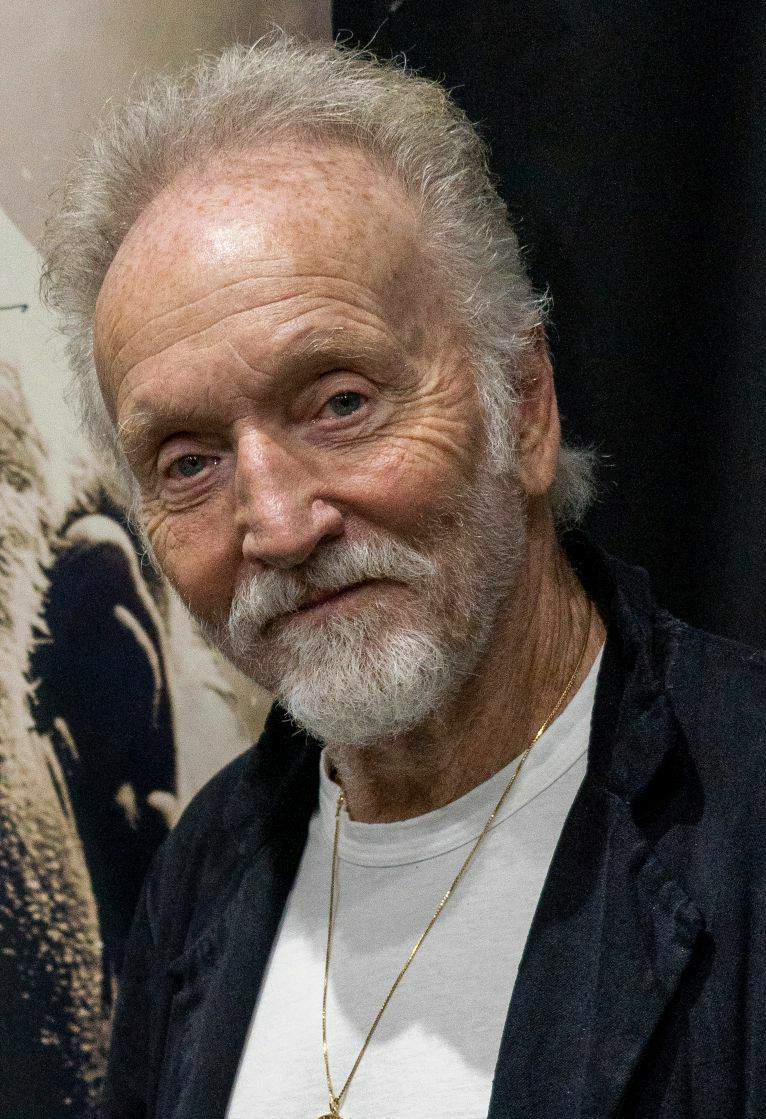
Explore the complete cast of Saw V, including both lead and supporting actors. Learn who plays each character, discover their past roles and achievements, and find out what makes this ensemble cast stand out in the world of film and television.
External Links and Streaming Options
Discover where to watch Saw V online, including streaming platforms, rental options, and official sources. Compare reviews, ratings, and in-depth movie information across sites like IMDb, TMDb, Wikipedia or Rotten Tomatoes.
Ratings and Reviews for Saw V
See how Saw V is rated across major platforms like IMDb, Metacritic, and TMDb. Compare audience scores and critic reviews to understand where Saw V stands among top-rated movies in its genre.

20
Metascore
5.6
User Score


13%
TOMATOMETER

52%
User Score

5.8 /10
IMDb Rating

62
%
User Score
Take the Ultimate Saw V Movie Quiz
Challenge your knowledge of Saw V with this fun and interactive movie quiz. Test yourself on key plot points, iconic characters, hidden details, and memorable moments to see how well you really know the film.
Saw V Quiz: Twists and Traps: Test your knowledge on the chilling events and characters from 'Saw V'.
What predicament does Seth find himself in at the beginning of the movie?
Pendulum trap
Electric chair
Bear trap
Saw blade trap
Show hint
Full Plot Summary and Ending Explained for Saw V
Read the complete plot summary of Saw V, including all major events, twists, and the full ending explained in detail. Explore key characters, themes, hidden meanings, and everything you need to understand the story from beginning to end.
The film kicks off with Seth, portrayed by Joris Jarsky, trapped in a deadly pendulum mechanism. It soon emerges that Seth is a murderer, having been released from prison early due to a legal technicality. A puppet, symbolic of Jigsaw, presents Seth with an ultimatum: to rescue himself, he must destroy the tools of his murderous trade—his own hands. Although the trap appears to offer a chance of survival, it is ultimately revealed to be unwinnable. Seth believes he must press buttons in two separate devices, which will crush his hands simultaneously before the descending pendulum, meant to bisect him, finalizes its grim task. Despite grasping the futile nature of his struggle, he goes ahead and crushes his hands, but the pendulum continues its deadly descent, leading to a gruesome end witnessed by an unseen watcher through a peephole.
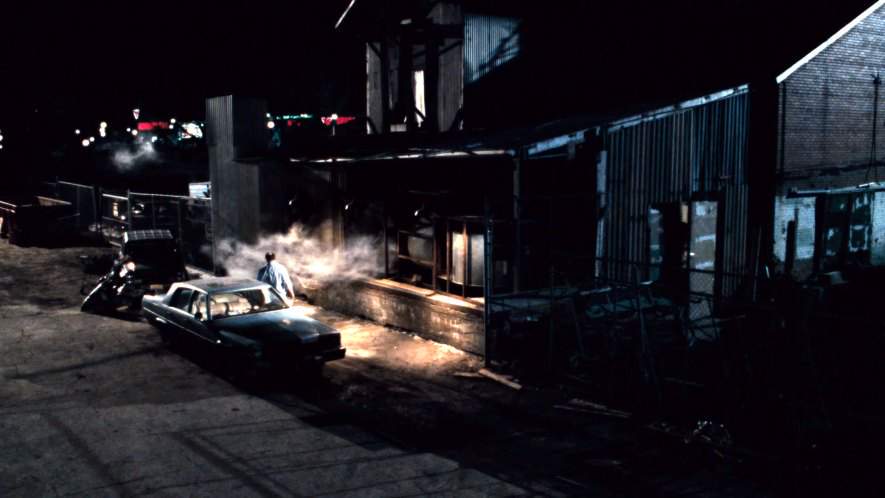
Simultaneously, Agent Strahm, played by Scott Patterson, is seen in a chaotic pursuit of the truth. He shoots Jeff, a character brought to life by Angus Macfadyen, before entering the scene of Jigsaw’s death. As he investigates, Strahm discovers Jigsaw’s lifeless body, only to find himself trapped when fellow agent Mark Hoffman, played by Costas Mandylor, locks the door behind him. In a twist of fate, Strahm stumbles upon a concealed door marked with glow-in-the-dark paint. When he hears Jigsaw’s voice on a recording, it warns him against continuing his quest for truth, suggesting that his “insatiable hunger” may lead him further into darkness. Ignoring the warning, Strahm ventures down a mysterious corridor, only to be ambushed by an assailant in a pig mask—presumably Hoffman. The agent subsequently finds himself ensnared in one of Jigsaw’s traps, his head enclosed in a sealed container that fills with water. In a desperate bid for air, he resorts to performing a tracheotomy using a nearby ballpoint pen.
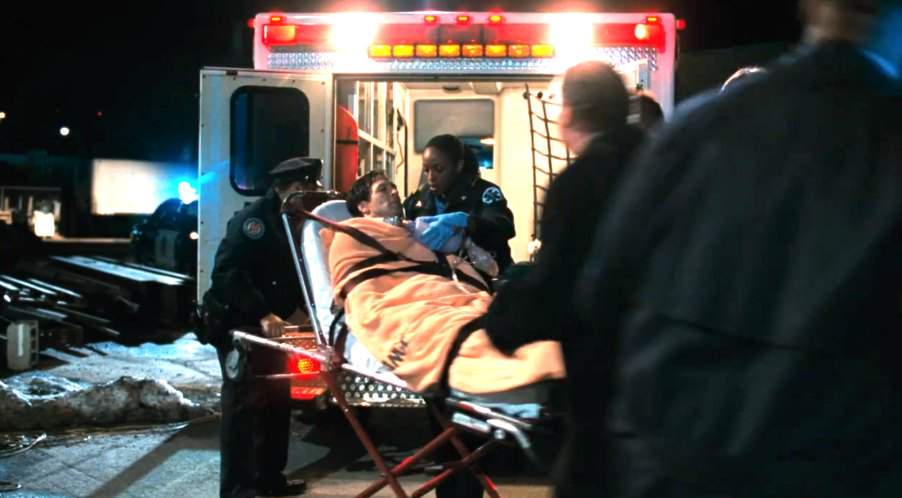
As events unfold, law enforcement arrives at the Gideon Warehouse, where Hoffman is later seen carrying Corbett, a character portrayed by Niamh Wilson, whom he claims to have saved. Despite sustaining critical injuries, Strahm is loaded onto a stretcher, clinging to life. The following day, a memorial service is held for those who succumbed in the pursuit of Jigsaw. During this solemn occasion, the Chief of Police announces the end of the Jigsaw murders and lauds Hoffman with a promotion. Meanwhile, Jill, John Kramer’s ex-wife played by Betsy Russell, receives an important videotape and box from John’s attorney. The contents of the box remain undisclosed, and Jill departs without divulging the details.
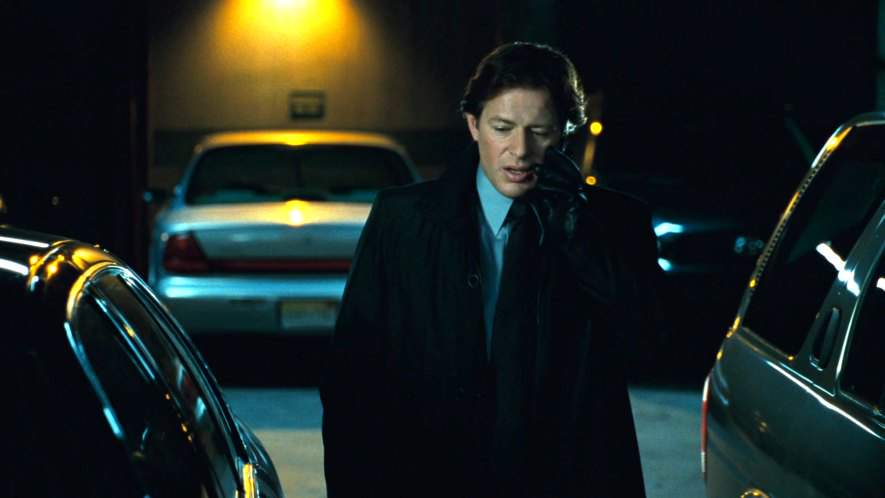
Strahm mourns the loss of his partner, Agent Perez, voiced by Athena Karkanis, who has died overnight. His superior, Agent Erickson (Mark Rolston), informs Strahm of his reassignment off the ongoing Jigsaw case, leaving Strahm frustrated and angry. Hoffman’s demeanor appears suspiciously calm during this turbulence. In his own office, Hoffman discovers a note reading “I know who you are,” heightening his sense of peril as he fears his hidden identity as Jigsaw’s disciple may be exposed.
Meanwhile, five individuals regain consciousness in a sewer, caught in a sinister necktie trap. The puppet prompts them to cooperate or face deadly consequences, as they must retrieve keys to escape the impending doom of beheading. The urgency intensifies as explosive devices are triggered on a countdown. Characters like Mallick (Greg Bryk) exhibit panic, resulting in rash decisions that lead to one of the group, Ashley (Laura Gordon), ultimately falling victim to the test by the guillotine’s blade.
Strahm, trying to piece together the threads of his investigation, scours FBI databases for any leads on Hoffman and uncovers the tragic link between Hoffman’s sister’s murder and Seth’s demise. It becomes evident that Hoffman has manipulated the narrative to absolve himself of blame in Seth’s death, which Serves as a dark realization for Strahm. This unveiling is marked by flashbacks where Hoffman carefully orchestrates his plans while Jigsaw compels him into servitude.
The trials for the five in the sewer turn more deadly. In their next challenge, they must shatter jars to obtain the keys necessary for survival as bomb detonations loom. Ruthlessness surfaces as characters betray one another in a desperate scramble for survival, leading to chaos and bloodshed. Tension peaks as they arrive at a final challenge requiring them to bleed into a shared beaker to unlock their path to freedom. The tragic irony unfolds when they realize that, had they worked together, they could have saved each other and lived.
As the horrifying spectacle develops, Strahm engages in a perilous chase after Hoffman, ultimately leading him to a new location—a house from a prior movie where past horrors linger. There, he encounters a trap set by Hoffman designed to catch him off guard. With time running out, Strahm’s fate hangs precariously in the balance as Hoffman lures him deeper into a game where trust is the only chance for survival.
With a swift turn of events, Strahm finds himself entangled in the very trap he was investigating. This ultimate twist leaves Hoffman a free man, poised to continue Jigsaw’s legacy undetected and unchecked. As the film culminates, Hoffman emerges as the final survivor in this grim cycle, with Strahm’s demise marking a definitive end to their cat-and-mouse game, locking in a fate that echoes the haunting legacy of Jigsaw himself. In the lingering aftermath, the shadows of past deeds loom large, suggesting the terrifying legacy of ‘Saw’ is far from over.
Uncover the Details: Timeline, Characters, Themes, and Beyond!

Coming soon on iOS and Android
The Plot Explained Mobile App
From blockbusters to hidden gems — dive into movie stories anytime, anywhere. Save your favorites, discover plots faster, and never miss a twist again.
Sign up to be the first to know when we launch. Your email stays private — always.
Watch Trailers, Clips & Behind-the-Scenes for Saw V
Watch official trailers, exclusive clips, cast interviews, and behind-the-scenes footage from Saw V. Dive deeper into the making of the film, its standout moments, and key production insights.
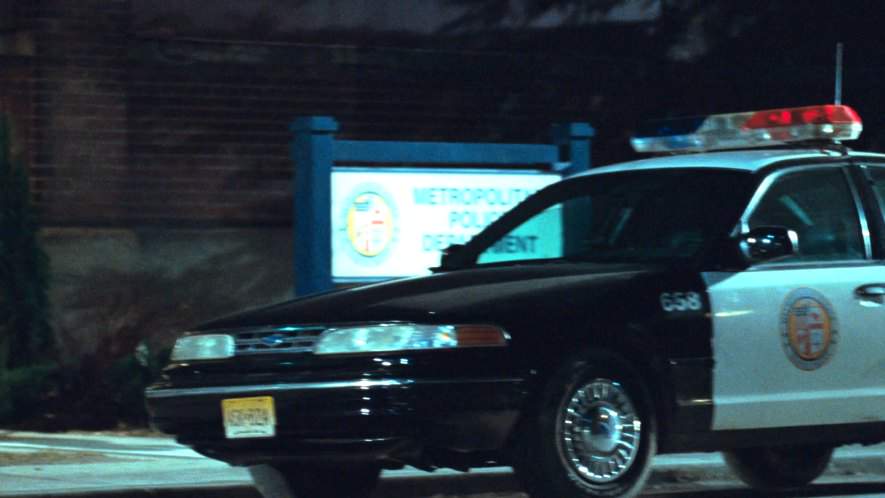
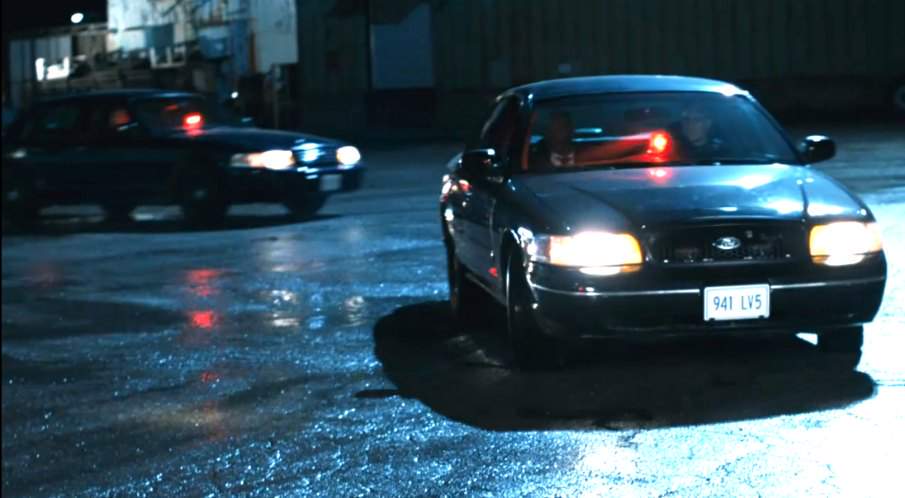
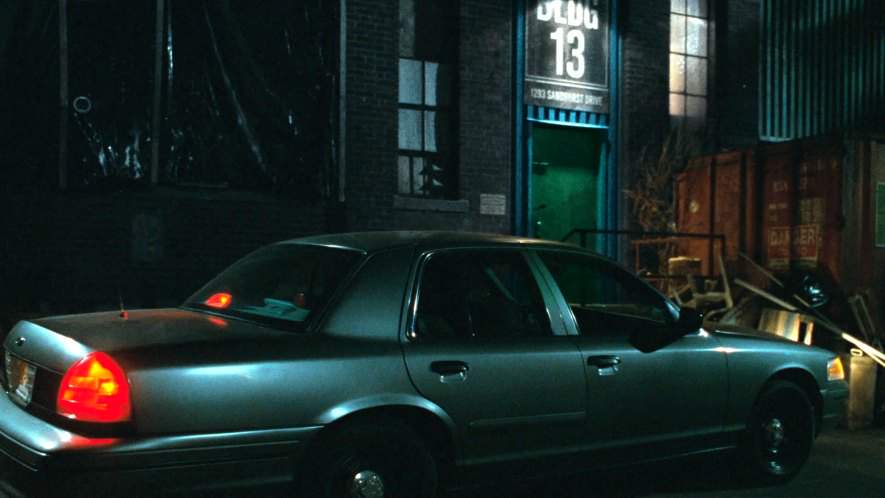
Cars Featured in Saw V
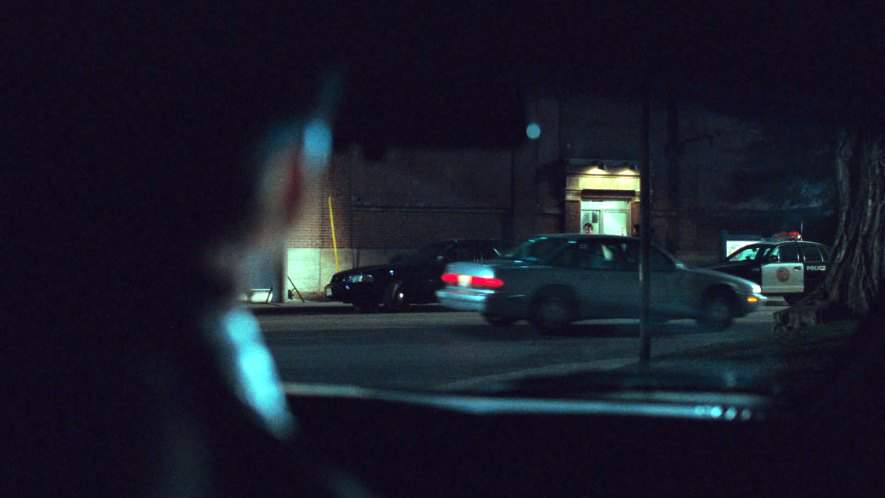
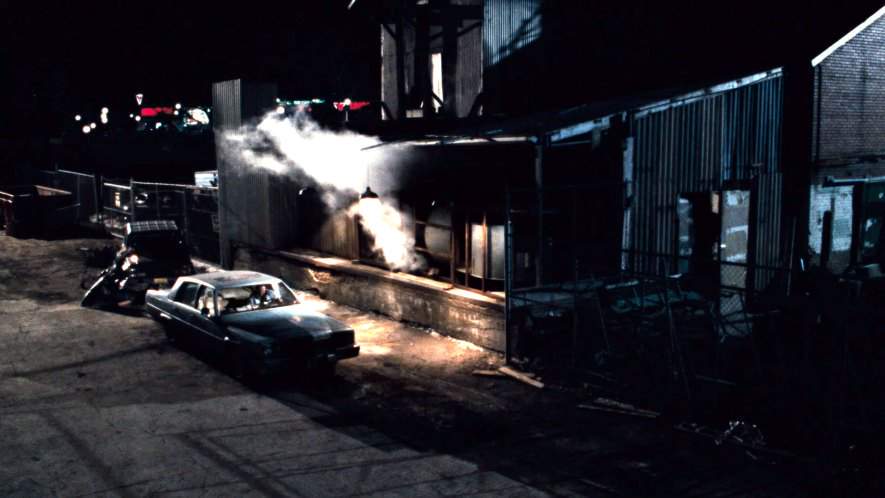
Explore all cars featured in Saw V, including their makes, models, scenes they appear in, and their significance to the plot. A must-read for car enthusiasts and movie buffs alike.
Saw V Themes and Keywords
Discover the central themes, ideas, and keywords that define the movie’s story, tone, and message. Analyze the film’s deeper meanings, genre influences, and recurring concepts.
Saw V Other Names and Titles
Explore the various alternative titles, translations, and other names used for Saw V across different regions and languages. Understand how the film is marketed and recognized worldwide.
Similar Movies To Saw V You Should Know About
Browse a curated list of movies similar in genre, tone, characters, or story structure. Discover new titles like the one you're watching, perfect for fans of related plots, vibes, or cinematic styles.
Quick Links: Summary, Cast, Ratings, More

What's After the Movie?
Not sure whether to stay after the credits? Find out!
Explore Our Movie Platform
New Movie Releases (2026)
Famous Movie Actors
Top Film Production Studios
Movie Plot Summaries & Endings
Major Movie Awards & Winners
Best Concert Films & Music Documentaries
Movie Collections and Curated Lists
© 2026 What's After the Movie. All rights reserved.


