Saw VI 2009

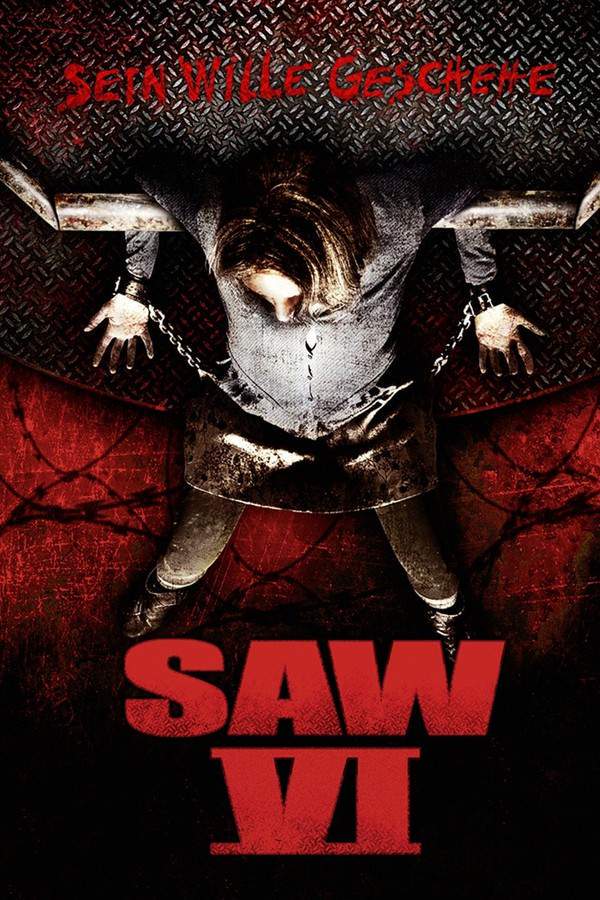
As Jigsaw's legacy continues, his apprentice, Hoffman, takes control and designs a new, deadly game. Trapped victims face horrific challenges while the FBI struggles to understand Jigsaw’s motives and stop Hoffman’s escalating violence. The investigation becomes a desperate race against time as Hoffman's intricate plans unfold, leading to unexpected twists and relentless terror.


Does Saw VI have end credit scenes?
No!
Saw VI does not have end credit scenes. You can leave when the credits roll.
Meet the Full Cast and Actors of Saw VI
Explore the complete cast of Saw VI, including both lead and supporting actors. Learn who plays each character, discover their past roles and achievements, and find out what makes this ensemble cast stand out in the world of film and television.


External Links and Streaming Options
Discover where to watch Saw VI online, including streaming platforms, rental options, and official sources. Compare reviews, ratings, and in-depth movie information across sites like IMDb, TMDb, Wikipedia or Rotten Tomatoes.


Ratings and Reviews for Saw VI
See how Saw VI is rated across major platforms like IMDb, Metacritic, and TMDb. Compare audience scores and critic reviews to understand where Saw VI stands among top-rated movies in its genre.
30
Metascore
6.5
User Score

39%
TOMATOMETER

51%
User Score
6.0 /10
IMDb Rating
63
%
User Score
Take the Ultimate Saw VI Movie Quiz
Challenge your knowledge of Saw VI with this fun and interactive movie quiz. Test yourself on key plot points, iconic characters, hidden details, and memorable moments to see how well you really know the film.
Saw VI Quiz: Test your knowledge on the twisted narratives and characters of Saw VI.
What is the initial predicament of the young woman in the film?
Full Plot Summary and Ending Explained for Saw VI
Read the complete plot summary of Saw VI, including all major events, twists, and the full ending explained in detail. Explore key characters, themes, hidden meanings, and everything you need to understand the story from beginning to end.
The film begins in a familiar Saw fashion, as a woman, portrayed by Tanedra Howard, regains consciousness in a dimly lit room with a terrifying trap affixed to her head. This device is a headset equipped with two bolts positioned at her temples, threatening to drill into her brain if triggered. Nearby, separated by an unyielding fence, an overweight man is waking up with a similar device clamped on him. As the woman attempts to regain control amidst the chaos, the man succumbs to fear and inadvertently activates Jigsaw’s signature recorded message. In a chilling address, Jigsaw lays blame on both for their part in medical insurance crimes—specifically, the denial of policies and claims for profit. He reveals a horrifying ultimatum: between them lies a scale, and in just 60 seconds, one must sacrifice the most flesh from their own body to outweigh the other, or face death. To illustrate the seriousness of their predicament, Jigsaw adjusts the screws on their headsets, inflicting minor injuries as a demonstration of what fate awaits if they fail.
The man quickly resorts to slicing into his body, extracting portions of flesh to weigh down the scale. Meanwhile, the girl, being physically fit, attempts to free herself but soon realizes she must act decisively. In a frenzied moment, she ties surgical tubing around her arm to create a makeshift tourniquet and with a butcher knife begins hacking at her limb. Despite her horrific act of self-mutilation, the man has already placed a second piece of flesh onto the scale. With the clock ticking down, she severs her arm completely, tipping the scale in her favor, resulting in the man’s grim demise as the device delivers its fatal punishment. The girl survives the horrifying gauntlet, marking the chilling start of the movie.
We are then introduced to the central character, William, played by Peter Outerbridge, who serves as the vice president of claims and investigations at a medical insurance company called Umbrella Health. William supervises a team of six people, employing a morally ambiguous formula to decide when to deny claims. The narrative presents William and his staff as hyper-critical, focusing on minor flaws to save costs rather than caring for their clients’ well-being. Amidst his corporate dealings, he has a drink with the company’s beautiful legal advisor while on a call with someone significant in his life, expressing regret for missing a birthday due to work obligations. The legal advisor assists him with preparations for a deposition since a former client has died after William’s team denied his insurance claims for treatment related to a heart condition. This backstory reveals William’s problematic moral compass as he dismisses the gravity of their actions.
Meanwhile, the saga continues with Detective Hoffman, portrayed by Costas Mandylor, who was concealed in a glass box at the conclusion of Saw 5. This box transports him away from a perilous trap site, where he inspects the aftermath of Jigsaw’s game. Upon arrival, he discovers the body of Agent Peter Strahm, confirming his demise. As he investigates the new scene, Hoffman grapples with the repercussions of being connected to the previous films’ events. He faces scrutiny from the FBI, particularly Special Agent Lindsay Perez, who emerges from presumed death, making the investigation increasingly precarious for him.
Simultaneously, Jill Tuck, Jigsaw’s wife from the prior movies, is seen unveiling the contents of a box containing sealed envelopes, with hints of complex relationships and shared secrets among returning characters. She discovers one envelope contains a picture of Pamela Jenkins, an investigative journalist intent on delving deeper into Jigsaw’s dark legacy. Their paths intertwine as Pamela seeks Hoffman’s lead, only to become ensnared in Jigsaw’s ever-complicated web.
The plot escalates as William finds himself ensnared in a trap orchestrated by Jigsaw, subjected to challenges that will test his moral constitution. Facing a harrowing series of choices, from sacrificing others to escaping his own grim fate, William’s true nature is revealed through flashbacks and intense emotional exchanges. As the film progresses, he endures a barrage of agonizing trials designed to mirror the very cruelty he has inflicted through his corporate decisions.
As the narrative unfolds, twists and dark revelations pierce the storyline, culminating in a brutal climax where William’s past sins materialize before him. The film paints a visceral portrait of vengeance, moral accountability, and the intricate links between Jigsaw’s legacy and the characters’ intertwined fates. In a cruel twist of fate and familial ties, William’s choices lead to a devastating conclusion, encapsulating the relentless cycle of the Saw saga.
Detective Hoffman, engaged in a relentless pursuit to conceal his secrets, faces his own downfall as he becomes embroiled in the machine of revenge. Jill’s calculations culminate in a final confrontation that tests the limits of trust, fidelity, and survival instincts as she implements Jigsaw’s last wishes against Hoffman, leaving his fate hanging precariously in the balance.
In a shocking turn of events, the film closes amidst chaos, leaving viewers grappling with the haunting implications of choice and consequence that are the hallmark of the Saw franchise.

Watch Trailers, Clips & Behind-the-Scenes for Saw VI
Watch official trailers, exclusive clips, cast interviews, and behind-the-scenes footage from Saw VI. Dive deeper into the making of the film, its standout moments, and key production insights.
Cars Featured in Saw VI
Explore all cars featured in Saw VI, including their makes, models, scenes they appear in, and their significance to the plot. A must-read for car enthusiasts and movie buffs alike.
Saw VI Themes and Keywords
Discover the central themes, ideas, and keywords that define the movie’s story, tone, and message. Analyze the film’s deeper meanings, genre influences, and recurring concepts.

Unlock the World of Movies with Our Comprehensive Wiki
Dive into our Movie Wiki for in-depth film encyclopedia entries, including cast biographies, production trivia, plot synopses, behind-the-scenes facts, and thematic analyses. Whether you’re researching iconic directors, exploring genre histories, or discovering hidden easter eggs, our expertly curated movie database has everything you need to fuel your cinematic passion.

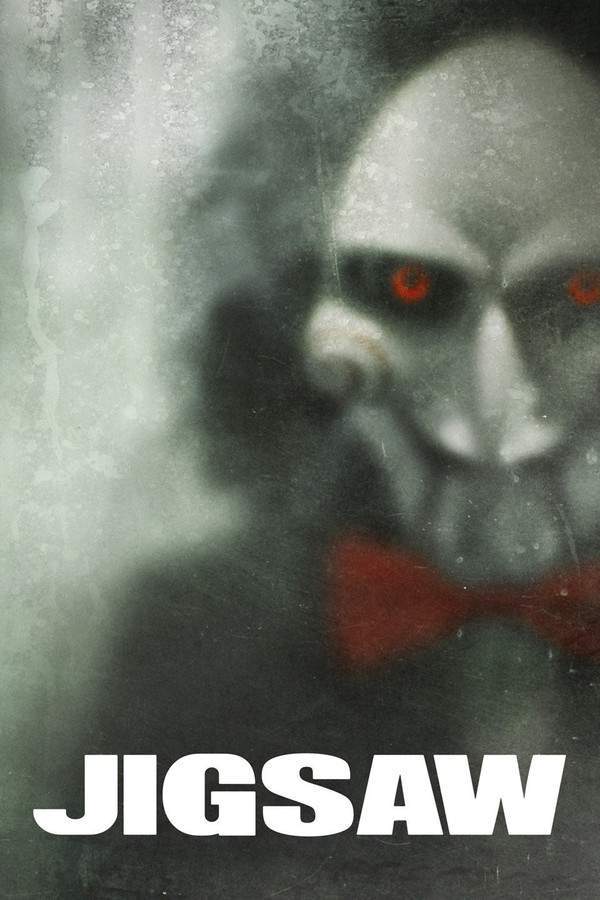
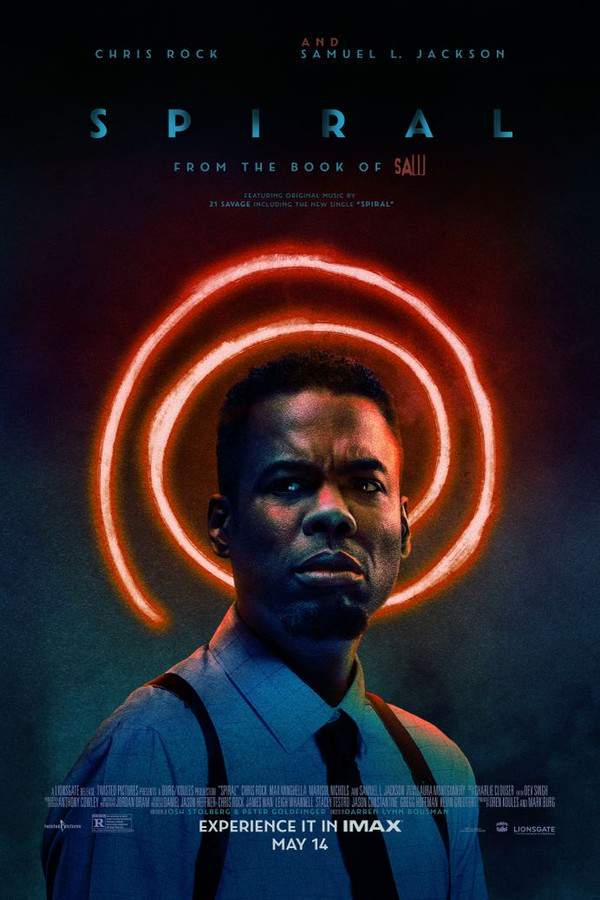
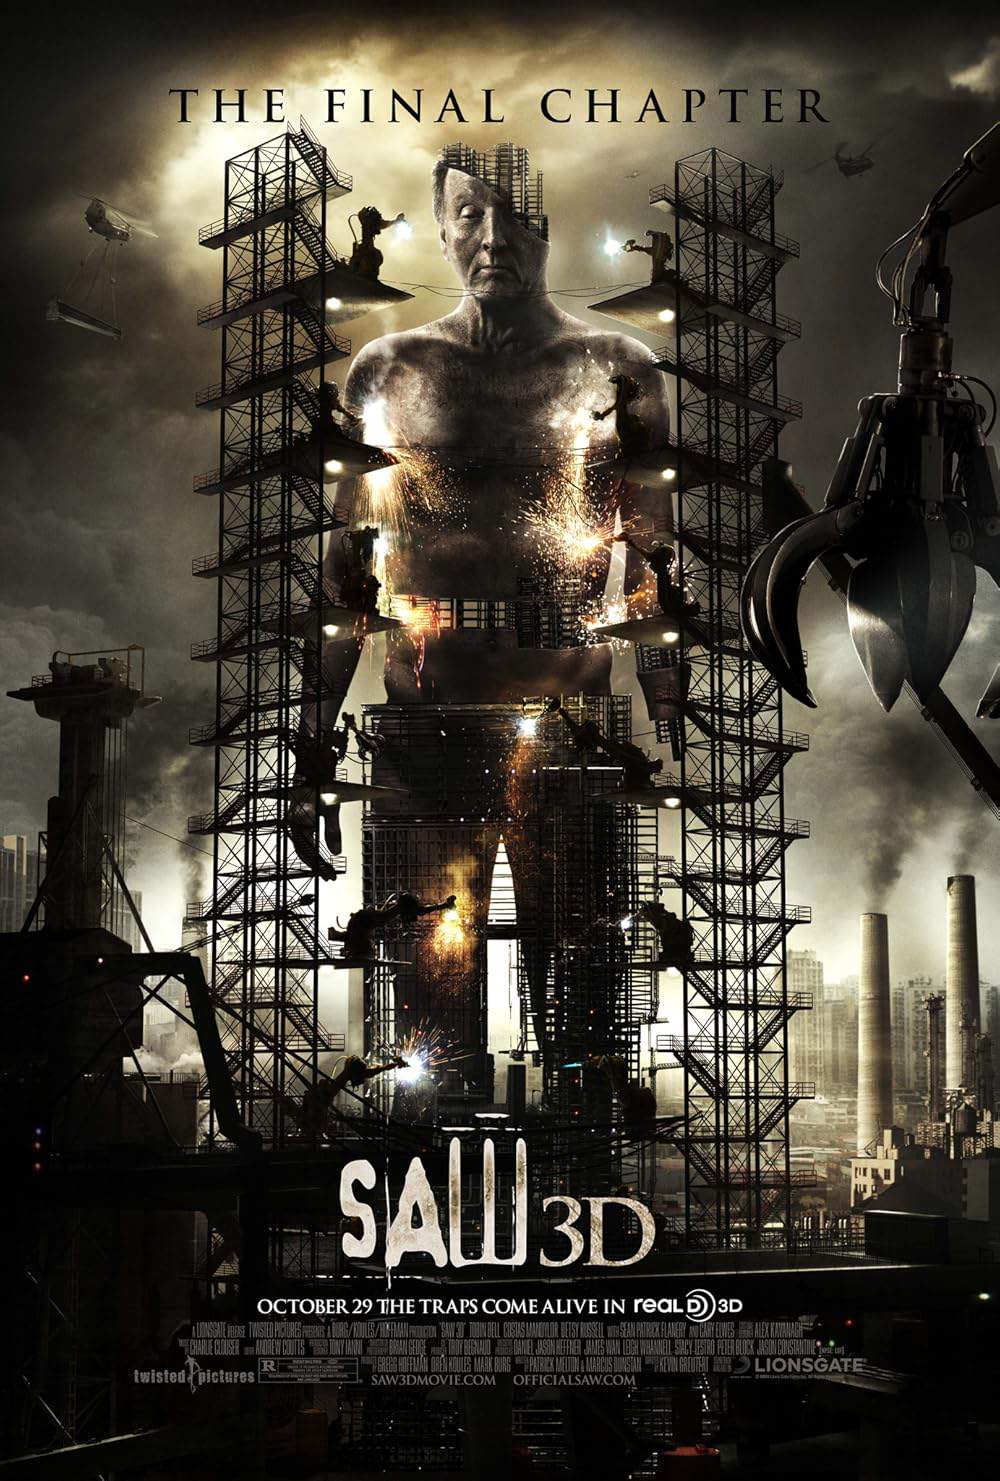
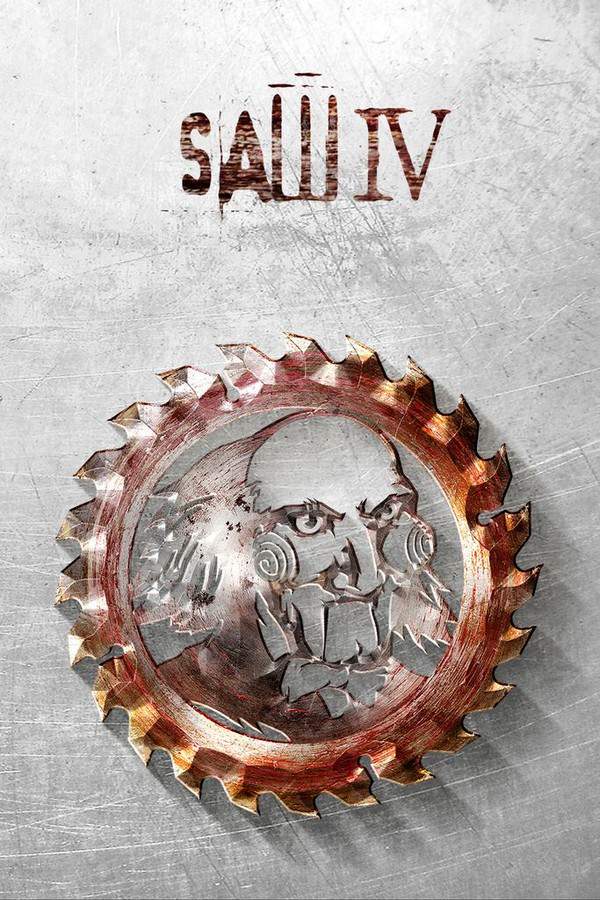
Similar Movies To Saw VI You Should Know About
Browse a curated list of movies similar in genre, tone, characters, or story structure. Discover new titles like the one you're watching, perfect for fans of related plots, vibes, or cinematic styles.


Quick Links: Summary, Cast, Ratings, More
What's After the Movie?
Not sure whether to stay after the credits? Find out!


Explore Our Movie Platform
New Movie Releases (2026)
Famous Movie Actors
Top Film Production Studios
Movie Plot Summaries & Endings
Major Movie Awards & Winners
Best Concert Films & Music Documentaries
Movie Collections and Curated Lists
© 2026 What's After the Movie. All rights reserved.