A Bridge Too Far 1977
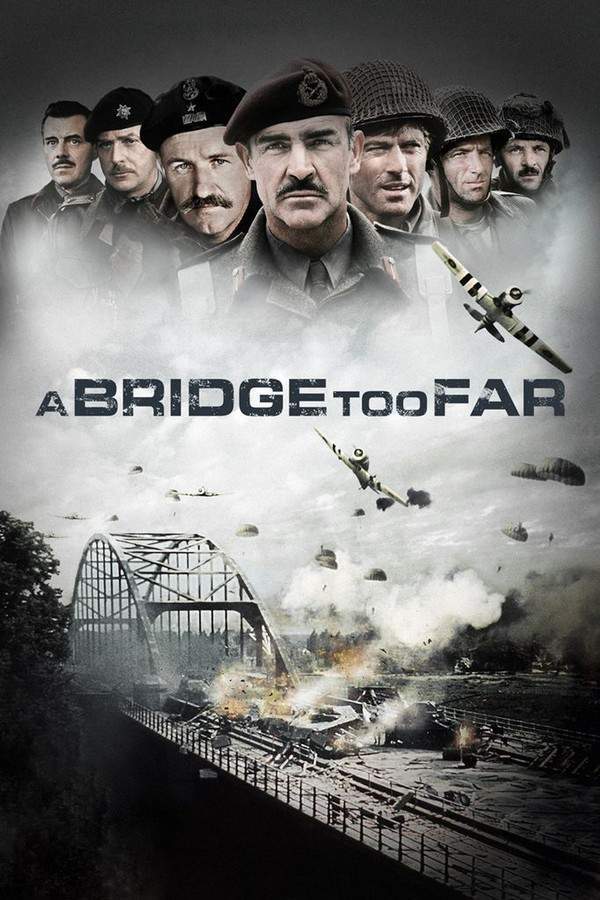
During World War II, as Allied forces gained momentum, a complex and ambitious plan was put into action. British and American airborne troops, led by General Gavin and General Urquhart, launched a daring operation to seize key bridges in the Netherlands. The goal was to swiftly penetrate German lines and open a route into Germany. However, the operation faced unexpected challenges and setbacks, testing the resolve of the Allied forces and highlighting the risks inherent in large-scale military endeavors. The mission's ultimate success remained uncertain amidst the escalating dangers.
Does A Bridge Too Far have end credit scenes?
No!
A Bridge Too Far does not have end credit scenes. You can leave when the credits roll.
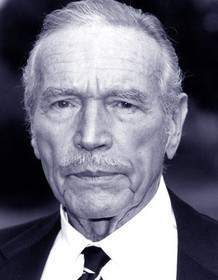
Meet the Full Cast and Actors of A Bridge Too Far
Explore the complete cast of A Bridge Too Far, including both lead and supporting actors. Learn who plays each character, discover their past roles and achievements, and find out what makes this ensemble cast stand out in the world of film and television.
External Links and Streaming Options
Discover where to watch A Bridge Too Far online, including streaming platforms, rental options, and official sources. Compare reviews, ratings, and in-depth movie information across sites like IMDb, TMDb, Wikipedia or Rotten Tomatoes.
Ratings and Reviews for A Bridge Too Far
See how A Bridge Too Far is rated across major platforms like IMDb, Metacritic, and TMDb. Compare audience scores and critic reviews to understand where A Bridge Too Far stands among top-rated movies in its genre.

63
Metascore
7.2
User Score


59%
TOMATOMETER

85%
User Score

72
%
User Score
Take the Ultimate A Bridge Too Far Movie Quiz
Challenge your knowledge of A Bridge Too Far with this fun and interactive movie quiz. Test yourself on key plot points, iconic characters, hidden details, and memorable moments to see how well you really know the film.
A Bridge Too Far Quiz: Test your knowledge on the historical events and characters of the movie A Bridge Too Far.
What operation does the film 'A Bridge Too Far' primarily revolve around?
Operation Overlord
Operation Market Garden
Operation Barbarossa
Operation Sea Lion
Show hint
Awards & Nominations for A Bridge Too Far
Discover all the awards and nominations received by A Bridge Too Far, from Oscars to film festival honors. Learn how A Bridge Too Far and its cast and crew have been recognized by critics and the industry alike.
31st British Academy Film Awards 1978



Best Cinematography
Best Editing
Best Original Music
Best Production Design
Best Sound
Full Plot Summary and Ending Explained for A Bridge Too Far
Read the complete plot summary of A Bridge Too Far, including all major events, twists, and the full ending explained in detail. Explore key characters, themes, hidden meanings, and everything you need to understand the story from beginning to end.
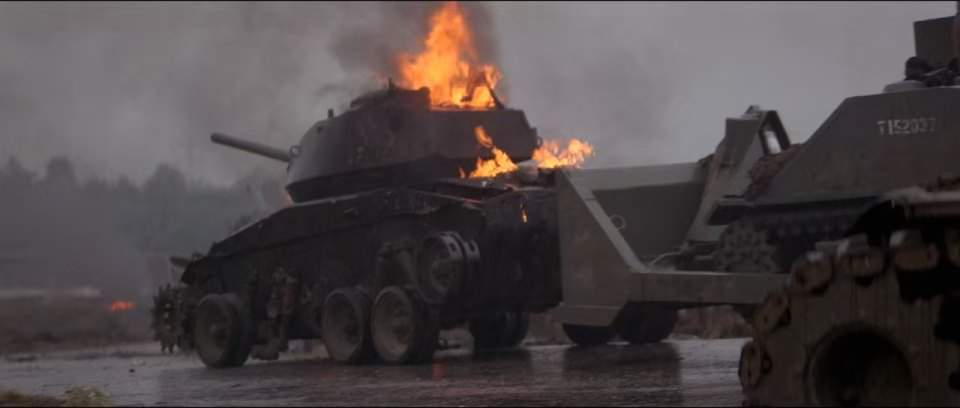
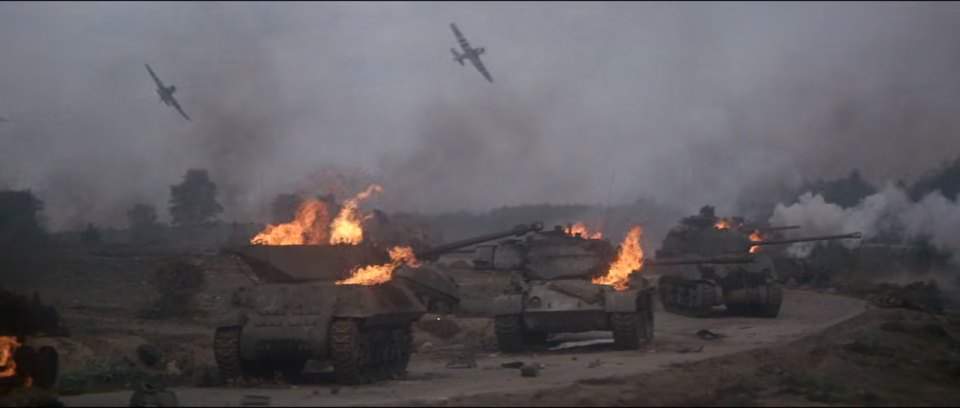
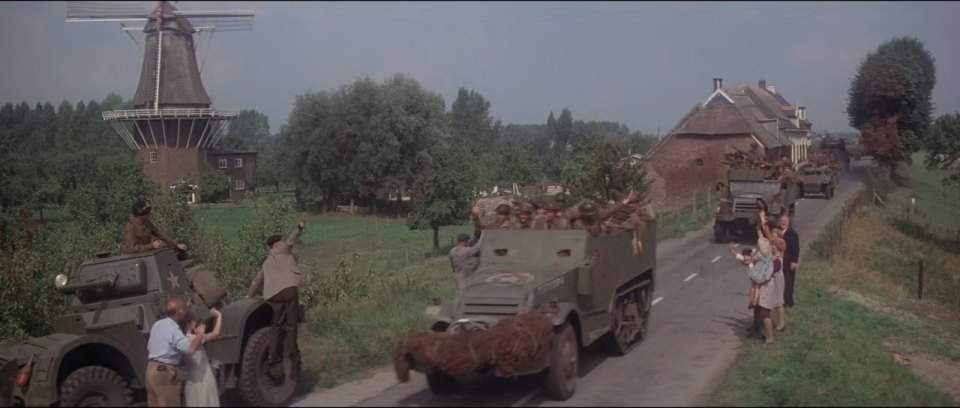
Operation Market Garden is a daring military endeavor that sees 35,000 soldiers flown 300 miles (480 km) from English airfields, dropped behind enemy lines in the Netherlands. The planning involves two divisions of US paratroopers, tasked with securing key roads and bridges extending towards Nijmegen. Notably, a British division, commanded by Major-General Roy Urquhart, aims to land close to Arnhem and seize the bridge there, with assistance from a brigade of Polish paratroopers led by General Stanisław Sosabowski to enhance their efforts.
As General Urquhart assembles his officers for a briefing, some express astonishment at the lengthy landing distance from their objectives. The consensus suggests they are up against nothing but inexperienced old men and Hitler Youth, yet reconnaissance photographs reveal the presence of German tanks in Arnhem. Despite this, General Browning dismisses these findings and overlooks crucial intelligence reports from the Dutch underground.
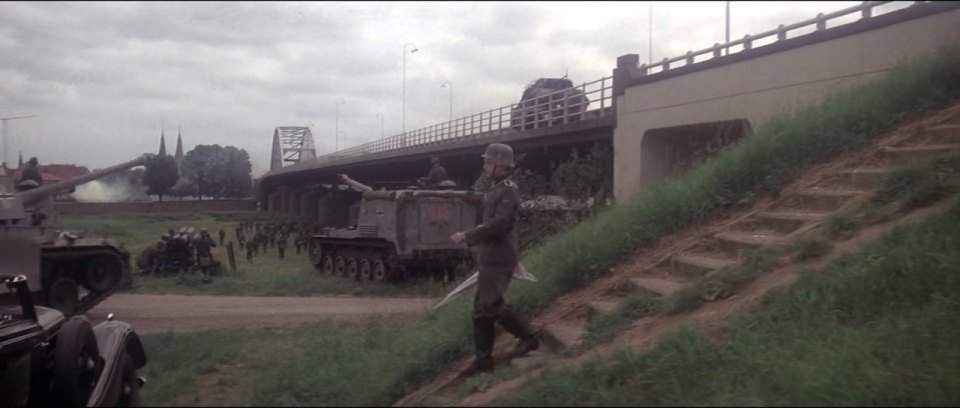
The Arnhem bridge stands as the operation’s prime target, representing the last escape route for German forces operating within the Netherlands, also serving as a direct corridor to Germany. However, it’s worth noting that approaching this strategic point involves navigating a narrow, single-lane road connecting essential bridges, where vehicles must often squeeze alongside the verge to pass. The elevated nature of this road further complicates matters, making any movement along it highly conspicuous.
While the airborne drops manage to catch the enemy off guard with minimal immediate resistance, the Son bridge meets a swift demise at the hands of the Germans moments before it can be secured. Compounding the difficulties, numerous jeeps fail to arrive, while others fall prey to an ambush, and several radio sets malfunction.
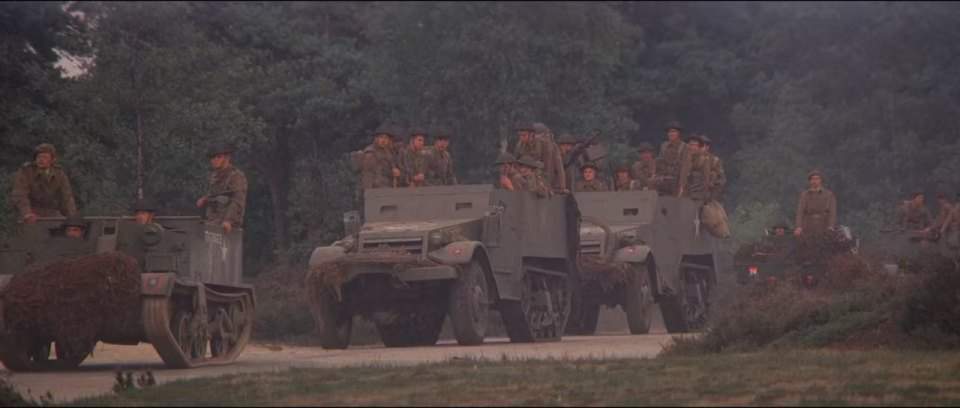
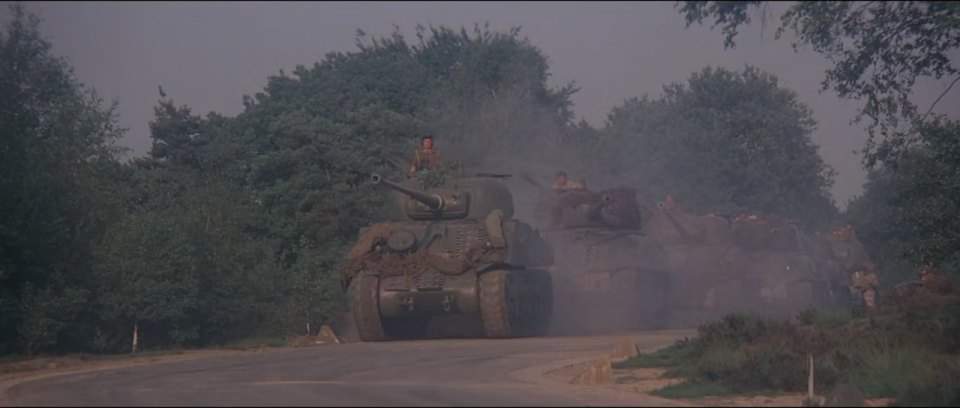
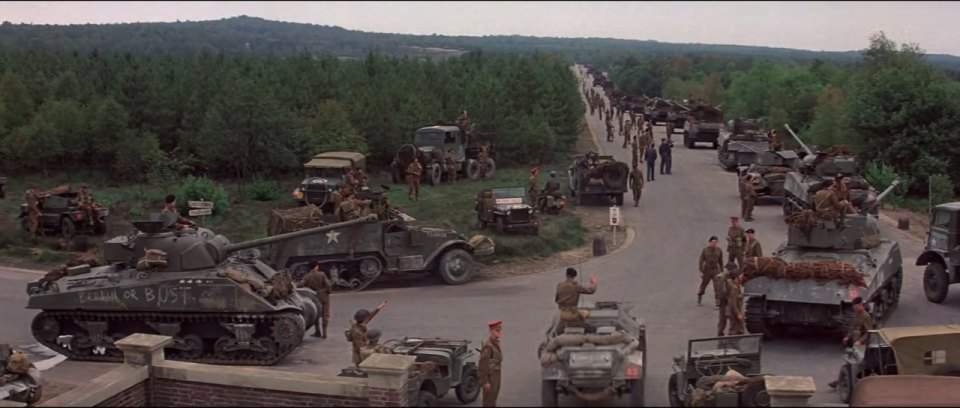
Meanwhile, the progress of XXX Corps encounters significant obstacles due to German opposition, the road’s constricted width, and the necessity of constructing a Bailey bridge to compensate for the destroyed bridge at Son. The advance stalls at Nijmegen, where brave soldiers from the 82nd Airborne Division conduct a daring daylight crossing to secure the vital Nijmegen bridge. This further delays XXX Corps, which must now await infantry support to capture the town.
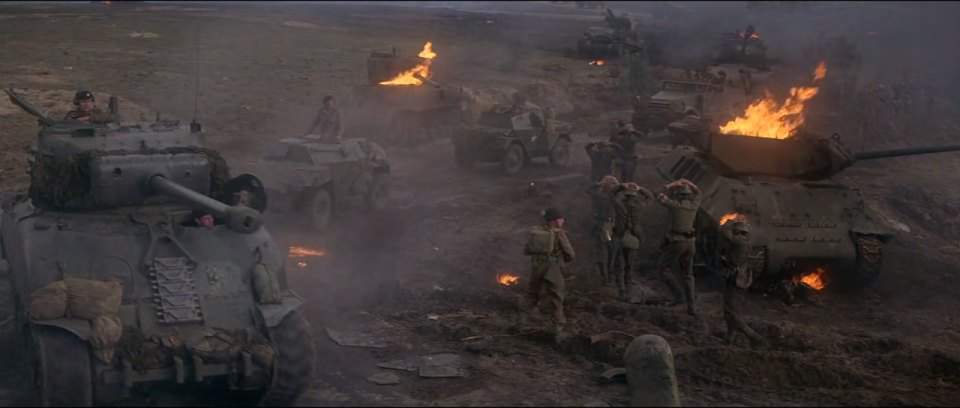
As the Germans tighten their grip on the isolated British paratroopers around the Arnhem bridge, the arrival of Sosabowski’s delayed troops from England proves too late to bolster Urquhart’s men. After enduring several days of relentless combat against SS infantry and armored units, the under-equipped forces find themselves outmanned and ultimately forced to retreat to Oosterbeek. Urquhart receives orders to withdraw, while other Allied commanders attribute their failures to the multitude of challenges they faced.
In a heartbreaking turn, Urquhart escapes with fewer than a fifth of his original contingent of 10,000 soldiers, while the severely wounded remain behind to enable the withdrawal. Back at British headquarters, a tense confrontation occurs when Urquhart challenges Browning about his earlier sentiments regarding the operation, only to find the latter now at odds with his previous optimism.
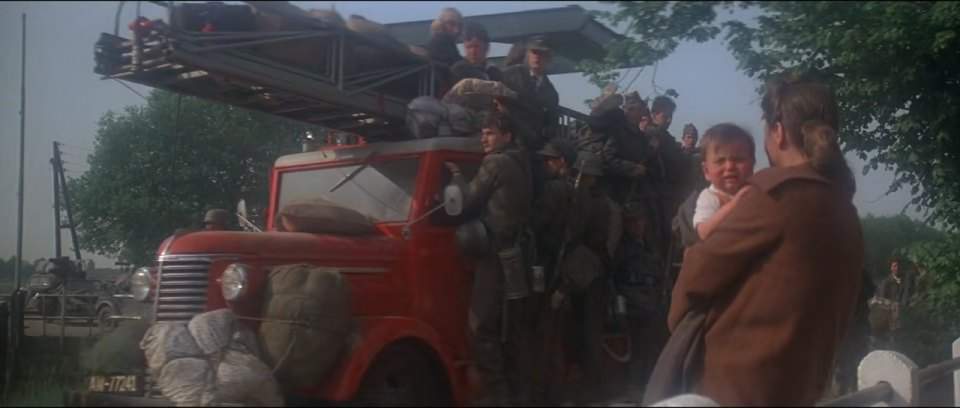
Meanwhile, in Oosterbeek, Kate ter Horst, whose home has been transformed into a makeshift hospital for the British, prepares to abandon the ruins of her dwelling. Navigating through a yard that now serves as a final resting place for fallen soldiers, she, along with her children and an elderly doctor, gather a few belongings, pulling them along in a cart. All the while, wounded British troops can be heard singing > “Abide with Me” as they await their inevitable capture.
Uncover the Details: Timeline, Characters, Themes, and Beyond!

Coming soon on iOS and Android
The Plot Explained Mobile App
From blockbusters to hidden gems — dive into movie stories anytime, anywhere. Save your favorites, discover plots faster, and never miss a twist again.
Sign up to be the first to know when we launch. Your email stays private — always.
Watch Trailers, Clips & Behind-the-Scenes for A Bridge Too Far
Watch official trailers, exclusive clips, cast interviews, and behind-the-scenes footage from A Bridge Too Far. Dive deeper into the making of the film, its standout moments, and key production insights.
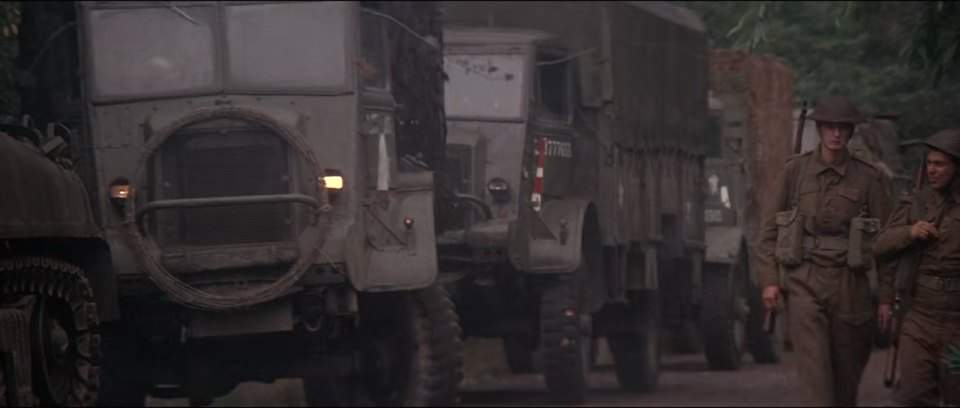
Cars Featured in A Bridge Too Far
Explore all cars featured in A Bridge Too Far, including their makes, models, scenes they appear in, and their significance to the plot. A must-read for car enthusiasts and movie buffs alike.
A Bridge Too Far Themes and Keywords
Discover the central themes, ideas, and keywords that define the movie’s story, tone, and message. Analyze the film’s deeper meanings, genre influences, and recurring concepts.
A Bridge Too Far Other Names and Titles
Explore the various alternative titles, translations, and other names used for A Bridge Too Far across different regions and languages. Understand how the film is marketed and recognized worldwide.
Similar Movies To A Bridge Too Far You Should Know About
Browse a curated list of movies similar in genre, tone, characters, or story structure. Discover new titles like the one you're watching, perfect for fans of related plots, vibes, or cinematic styles.
Quick Links: Summary, Cast, Ratings, More

What's After the Movie?
Not sure whether to stay after the credits? Find out!
Explore Our Movie Platform
New Movie Releases (2025)
Famous Movie Actors
Top Film Production Studios
Movie Plot Summaries & Endings
Major Movie Awards & Winners
Best Concert Films & Music Documentaries
Movie Collections and Curated Lists
© 2025 What's After the Movie. All rights reserved.


